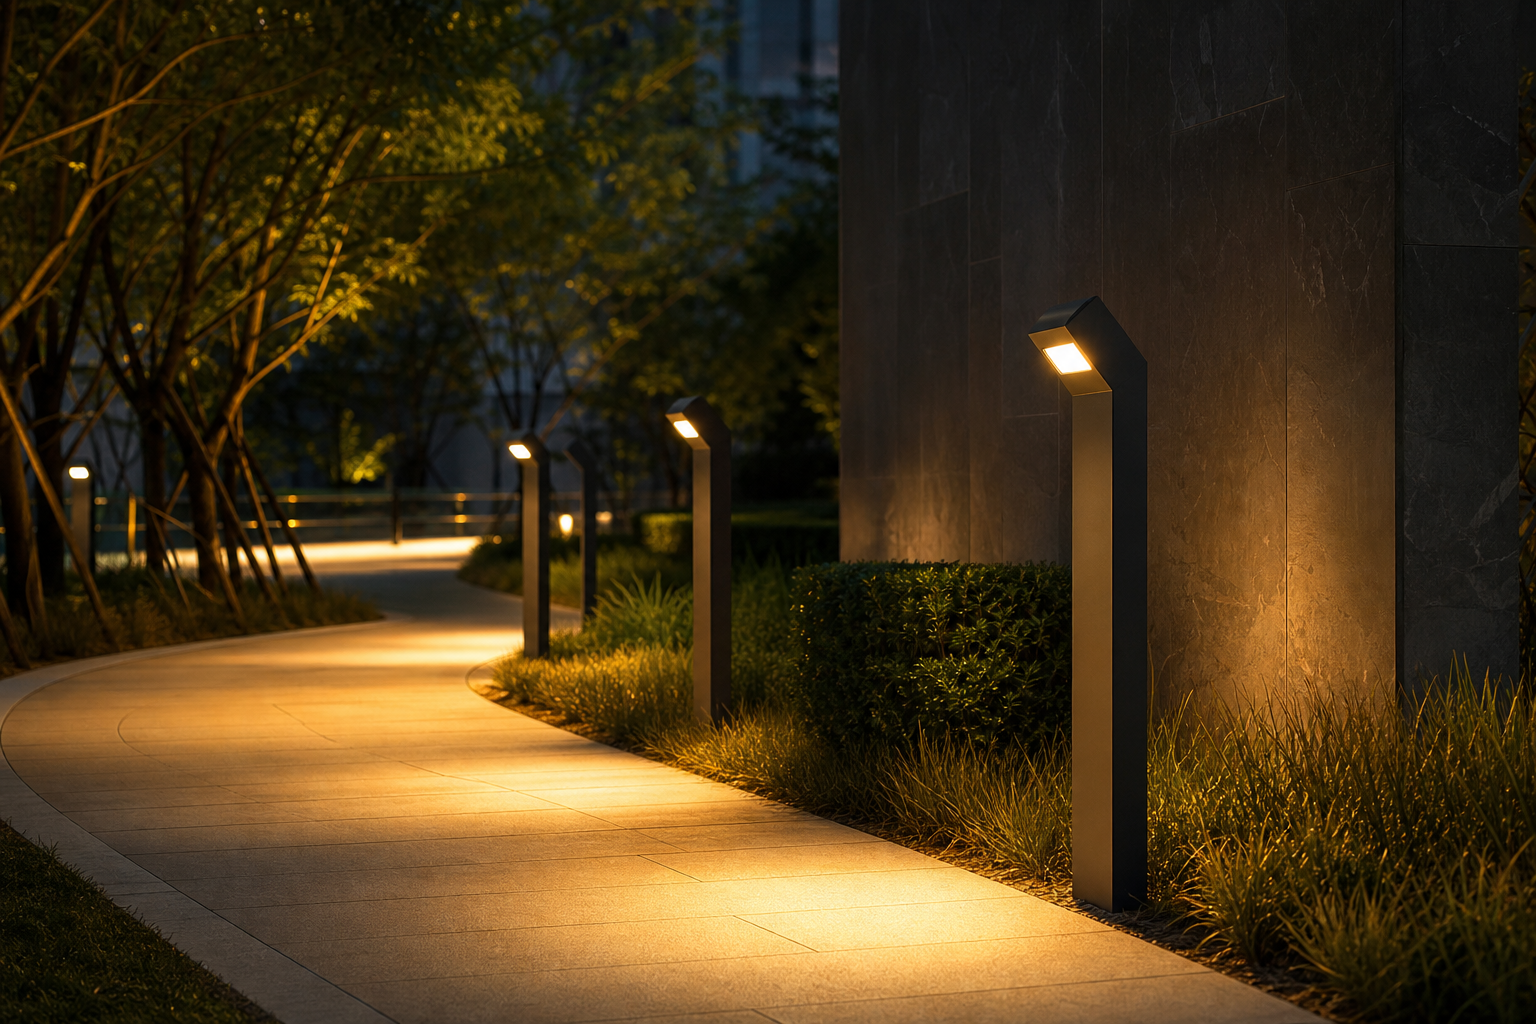
Public outdoor space lives between safety code and night sky — the P-class targets, pole and spacing logic, durability specs and controls that make parks, plazas and campus paths work after dark.
2026-09-10 · 9 min read · Lighting guide
An outdoor area scheme — a municipal park, a corporate campus, a university walkway network, a residential district plaza — answers to three audiences that rarely appear in the same document. Pedestrians need reassurance: faces recognizable at a sensible distance, level changes visible, a continuous line of light rather than islands in the dark. The operator needs the energy and maintenance bill of hundreds of pole points to stay predictable for twenty years. And the night itself is now an audience with legal standing — dark-sky ordinances, curfew rules and light-trespass complaints shape more tender documents every year. A design that optimizes any one audience at the expense of the others fails at handover.
The professional frame is the EN 13201 P-class series, which grades pedestrian areas by conflict level rather than by road class. Typical starting points, illustrative and subject to national annexes: P3-P4 (roughly 5-7.5 lux average) for residential paths, P2-P3 (7.5-10 lux) for campus and park main walkways, P1-P2 (10-15 lux) for plazas and event spaces, with uniformity around 0.3-0.4 (min/avg) and steps and ramps treated as their own high-priority zone. Those numbers look small next to indoor practice, and they are: outdoor design succeeds by precision, not volume.
Divide the site into lighting zones the way the paths already divide it, then let the pole schedule follow the zones rather than the other way round:
| Zone | Typical average lux | Uniformity (min/avg) | Typical fixture |
|---|---|---|---|
| Main pedestrian walkways | 7.5-10 (P2-P3) | ≥ 0.3-0.4 | Pole-mounted area lights, 4-6 m |
| Secondary paths, garden loops | 3-7.5 (P4-P3) | ≥ 0.3 | Bollards 0.8-1 m, or lower-power poles |
| Plazas and gathering areas | 10-20 | ≥ 0.4 | Area lights or projector rows, 6-8 m |
| Steps, ramps, level changes | 20-50 on treads | Every step | Step lights, handrail lines |
| Entries, crossings, nodes | 15-30 | ≥ 0.4 | Higher-output poles or accent, as landmarks |
| Perimeter and service paths | 3-7.5 | ≥ 0.3 | Bollards or wall-mounted, sensor-dimmed |
Class values follow EN 13201 style practice and are illustrative; the governing figures come from the tender, the municipality or the campus standard.
The pole schedule is where the geometry lives. The working rules of thumb: mounting height 4-6 meters for walkways, with spacing at 3-4 times the height for staggered layouts on paths and 4-5 times for plaza grids, tuned against the photometric file; bollards at 0.8-1 meter on secondary paths spaced 2-2.5 times their height. Fixtures need asymmetric or batwing distributions to throw light across the path rather than dumping it at the pole base — the classic failing of decorative fittings chosen for their daytime silhouette. That daytime look is a legitimate requirement in parks and campuses, so the honest structure is: architectural form for the daytime, certified photometry for the night, both from the same fixture. Our street lighting design guide covers the M-class road side that usually adjoins these zones, and the municipal context sits with our street and municipal solutions program.
Where trenching is impossible — heritage surfaces, remote lawns, phase-limited budgets — the solar equivalent of the same schedule applies, sized by autonomy rather than by fixture looks; our solar sizing guide and the solar vs mains comparison cover that trade-off honestly, including the autonomy and battery realities that separate a working solar path light from a decorative one.
Outdoor area lighting is the easiest large energy saving in most portfolios, because the load runs all night whether anyone walks there or not. The standard stack: presence-based dimming that holds walkways at a 20-30 percent background and rises on approach; astronomical time control so schedules track sunset rather than a seasonal guess; and a curfew scene that drops secondary paths after midnight in accordance with local ordinance. Motion-raised light at 100 percent for a passing pedestrian costs almost nothing annually and changes how safe a park feels at night — illustrative, but consistently the most appreciated control measure in post-occupancy feedback. Central monitoring (per-point reporting of faults and energy) has moved from premium to expected in municipal tenders; our smart lighting program covers the stack.
Dark-sky practice is now specification, not philosophy: warm 2700-3000 K CCT as a ceiling (many ordinances cap at 3000 K, some lower), full shielding with zero or near-zero upward light, sharp cutoff optics, and documented luminaire ratings on the submittal. Our light pollution guide explains the terms a reviewer will look for. The controls and the dark-sky lines are allies, not tensions — a curfewed, shielded, sensor-dimmed park is simultaneously the compliant one and the cheap-to-run one.
Pilot before program, on any scheme above a few dozen points. Twenty poles on the worst path — the tree-lined one, the coastal one, the one with the bad soil — will teach more than any datasheet: how the optic handles wet asphalt, whether the bollard louvers cut the glare a render hid, and how the sensors behave with deer, wind and maintenance trucks. The pilot span converts the tender's assumptions into measured fact while the change orders are still free.
The municipal-and-campus buying pattern rewards documented performance. Close at order: photometric files per optic and a DIALux layout against the path plan showing the P-class compliance grid; IP/IK test reports per housing; surge protection data (10 kV typical for area lights); driver brand stated by name; the pole schedule with wind-load class, foundation detail and access door spec; and for solar variants, panel, battery and autonomy sizing with the calculation shown. Certification follows the destination market — CE for the EU, UKCA for the UK, SAA for Australia, SASO/SABER for the Gulf — issued via certified partner factories and verified by certificate number, per our certification guide. Salt-spray certification for coastal and treated-surface sites belongs in the same envelope.
Acceptance testing is written into municipal contracts, so know the instrument before the visit: a calibrated lux meter at one meter height, a walk-through grid matching the design file, and the uniformity calculated on the measured points, not on the promise. Schemes that pass their own photometric file but fail the measured grid almost always trace to spacing stretched during installation — the grid catches it, which is exactly its job.
Commercially, these programs run on samples, pilots and phases: sample poles in 7-14 days (illustrative), a pilot span of 10-20 poles installed and measured before bulk release, then phased production 25-40 days after deposit per phase, confirmed per order. Container planning matters more than in indoor work — poles, luminaires, foundations hardware and control nodes ship as a system, and a missing access-door key delays a whole installation crew; our container loading guide covers the mechanics of mixed-SKU exports. The program consolidates naturally with our outdoor and solar line for off-grid zones and the landscape layer in the landscape guide for the planting edges these walkways cross. Close with the spares ratio — 3-5 percent of drivers, optics and fuses held by the operator — and the as-built aiming schedule, because in year eight those two documents are the difference between a maintenance round and a re-survey.
From M-class to pole schedule — the road side of the same municipal toolbox.
TCO compared for municipal buyers — where off-grid wins and where it quietly fails.
Safety, sensors and savings in the covered sibling of outdoor area lighting.
How buyers actually work the Zhongshan lighting cluster — markets, factories and QC.
Layout with the compliance grid, pole schedule and a per-project quotation — first response within 24 hours.