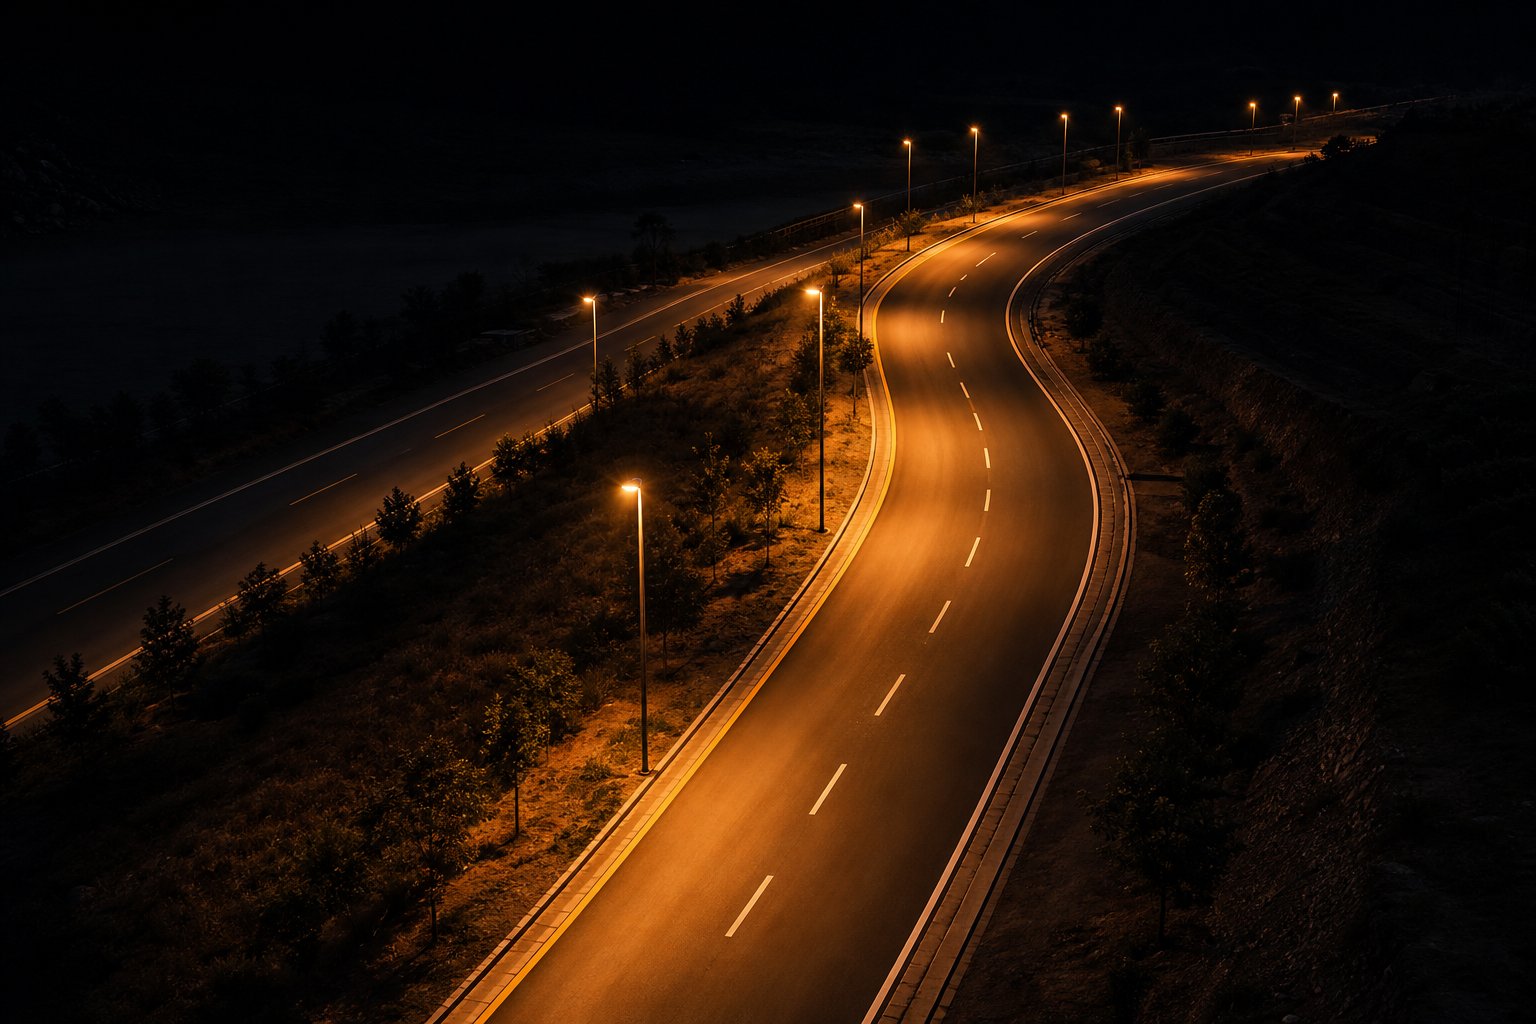
Municipal road lighting runs on a chain: road type to lighting class, class to calculation, calculation to a pole schedule a contractor can build from. Each link is explained here.
2026-09-10 · 9 min read · Lighting guide
Municipal buyers do not purchase street lights; they purchase a verified visual environment on paper and the hardware that delivers it. The workflow that separates a fundable road project from a warranty dispute is a chain of decisions, each documented: assign the road a lighting class under EN 13201, run the photometric calculation for the real geometry, and translate the result into a pole and luminaire schedule precise enough to install without field improvisation. Watts appear nowhere as a design input — a point worth underlining, because wattage-based street lighting specs remain the most common source of failed tenders. This guide walks the chain.
EN 13201 structures road lighting around the road user. M-classes (M1 to M6) govern motorized traffic on roads where the visual task is detecting obstacles on the carriageway, and they are defined in road surface luminance — cd/m², not lux — because that is what the driver's eye and brain actually use. C-classes (C0-C5) cover conflict areas: intersections, roundabouts, crossings, where traffic streams meet and the visual task changes. P-classes (P1-P7) cover low-speed and pedestrian areas — footways, cycle paths, residential streets — and are defined in horizontal illuminance.
| Class family | Metric | Typical range | Where it applies (typical) |
|---|---|---|---|
| M1-M6 | Luminance L (cd/m²), plus uniformity Uo/Ul and TI | M1 = 2.0 → M6 = 0.3 cd/m² | Main roads, distributor roads, motorway-class links |
| C0-C5 | Illuminance E (lx) | C0 = 50 → C5 = 7.5 lx | Conflict areas: junctions, roundabouts, crossings |
| P1-P7 | Illuminance E (lx) | P1 = 15 → P6 = 2 lx (Em) | Footways, cycle tracks, residential access roads |
Values follow EN 13201 practice; the exact class selection depends on traffic volume, speed, ambient luminance and national annexes, which govern in each market.
Selection is a table-driven exercise: traffic speed and volume, junction density, ambient brightness and crime-risk considerations point to a class, and the class then becomes the acceptance criterion. Two accompanying limits get checked in every calculation: TI (threshold increment, the disability-glare measure) for M-classes, and surround ratio so the road edge and adjacent footway do not go visually dead.
With the class fixed, the design is geometry: pole height, spacing, overhang, arm length, tilt and arrangement (single side, staggered, opposite, or central twin-arm) run through DIALux/Relux or the supplier's EN 13201-compliant engine until every requirement passes — average and uniformity, not just the average. The rules of thumb that seed the first run, before the software refines them:
| Parameter | Typical practice | Effect |
|---|---|---|
| Pole height | 4-6 m residential; 8-10 m distributor; 10-12 m+ main roads | Higher poles allow wider spacing but need better optics control |
| Spacing / height ratio | Roughly 3-4× height for good LED optics, single-side | The primary cost lever: fewer poles, better uniformity trade |
| Overhang | 0.5-1.0 m over the carriageway | Pulls luminance onto the lane; too much harms the far-side edge |
| Tilt | 0-5° typical; keep minimal | Every degree adds glare and uplight; modern practice is near-zero |
| Arrangement | Single side → staggered → opposite as road width grows | Matched to width-to-height ratio of the carriageway |
Illustrative starting values for orientation; the DIALux/Relux run against the chosen class is the design of record.
The pole schedule is where design meets site, and its completeness decides whether installation is quiet or chaotic. A professional schedule lists, per pole: position (chainage or coordinates), side and offset from kerb, pole type and height, arm length, luminaire model and wattage, lumens and CCT, tilt, orientation, and any dimming group. It pairs with a luminaire schedule listing photometric files per wattage, so the as-built matches the calculation. Two practical municipal notes: the schedule is also the asset register seed — every future maintenance ticket references it — and it is the natural home for the utility and column data (existing ducts, load capacity, wind zone) that vary per street and kill programs when discovered late.
Street lighting's night profile invites dimming: traffic falls to a fraction after the late evening, and most classes permit stepping down with it. The standard toolkit is time-based dimming profiles (for example 100% evening, 70-50% late night, back up before dawn — subject to the governing class and national rules), delivered either by drivers on schedules or, increasingly, through Zhaga/NEMA socket ecosystems that add remote monitoring, per-pole metering and fault alerts — the "smart city ready" layer that tender documents now frequently ask for as an option or future-proofing requirement. Two cautions keep it honest: dimming must never take the road below its governing class, and dimming changes uniformity too, so the dimmed state belongs in the calculation, not just the full-output one. Energy-wise, modern LED road optics typically deliver the design at efficacies around 130-160 lm/W (typical), and the real municipal win is that lower-power, better-controlled schemes also relax the electrical infrastructure: smaller cables, smaller power cabinets, cheaper everything downstream.
Road lighting illuminates the road; obtrusive light is what spills on everyone else — bedroom windows, sky glow, glare into oncoming lanes — and European practice now treats it as a design constraint with its own guidance (CIE 150-class limits on upward light, luminous intensity toward residences, and curfew-dependent thresholds). The practical levers are decided at fixture selection, not after complaints: zero-uplight optics (ULR 0 as the target spec), full cutoff distributions that keep intensity out of upper viewing angles, near-zero tilt, and spectrum choices that limit short-wavelength scatter where dark-sky obligations apply. Residential boundaries add a nuisance dimension — the last pole before a bedroom window is the one that generates the complaint call, and the fix is a shielding louver or a lower-lumen optic on that position, planned in the schedule. Municipal buyers increasingly write these limits directly into tenders; suppliers who can state ULR, upward flux fraction and intensity-at-angle figures per optic answer them in a page, and those who cannot will meet the requirement again at the objection stage.
The municipal document set is checkable, and buyers should insist on each item: IES/LDT photometric files for every wattage and optic; EN 13201 calculation reports for representative road sections, full output and dimmed states; the pole schedule template completed with the supplier's data; structural calculations or certifications for columns at the project's wind class; IP66 and IK ratings with test evidence; surge protection suitable for overhead networks; and the warranty terms covering driver and LED depreciation claims. Zhaga/NEMA socket readiness should be a line item, even where dimming is deferred. Certification by destination (CE, UKCA, SASO and others) is issued via certified partner factories with verifiable documentation.
Illustrative commercial terms: samples of 1-5 pcs ship in 7-14 days; trial orders 100-200 pcs per SKU; bulk production 25-40 days after deposit; pricing quoted per project. The street and municipal lighting page maps these requirements to deliverable families, the street light category indexes the luminaire range, and the off-grid variant is covered under solar lights. Send one representative road cross-section — width, class ambition, surface type — and the calculation with a draft pole schedule is the natural first reply.
Spacing and pole height worked through EN 13201 in practice.
Total cost of ownership compared for municipal buyers.
All-in-one systems, sizing and where off-grid makes sense.
CE, UKCA, SASO and more by destination market — tender documents checked.
EN 13201 run, luminaire photometry and FOB quotation — first response within 24 hours.