2026-09-28 · 7 min read · Planning guide
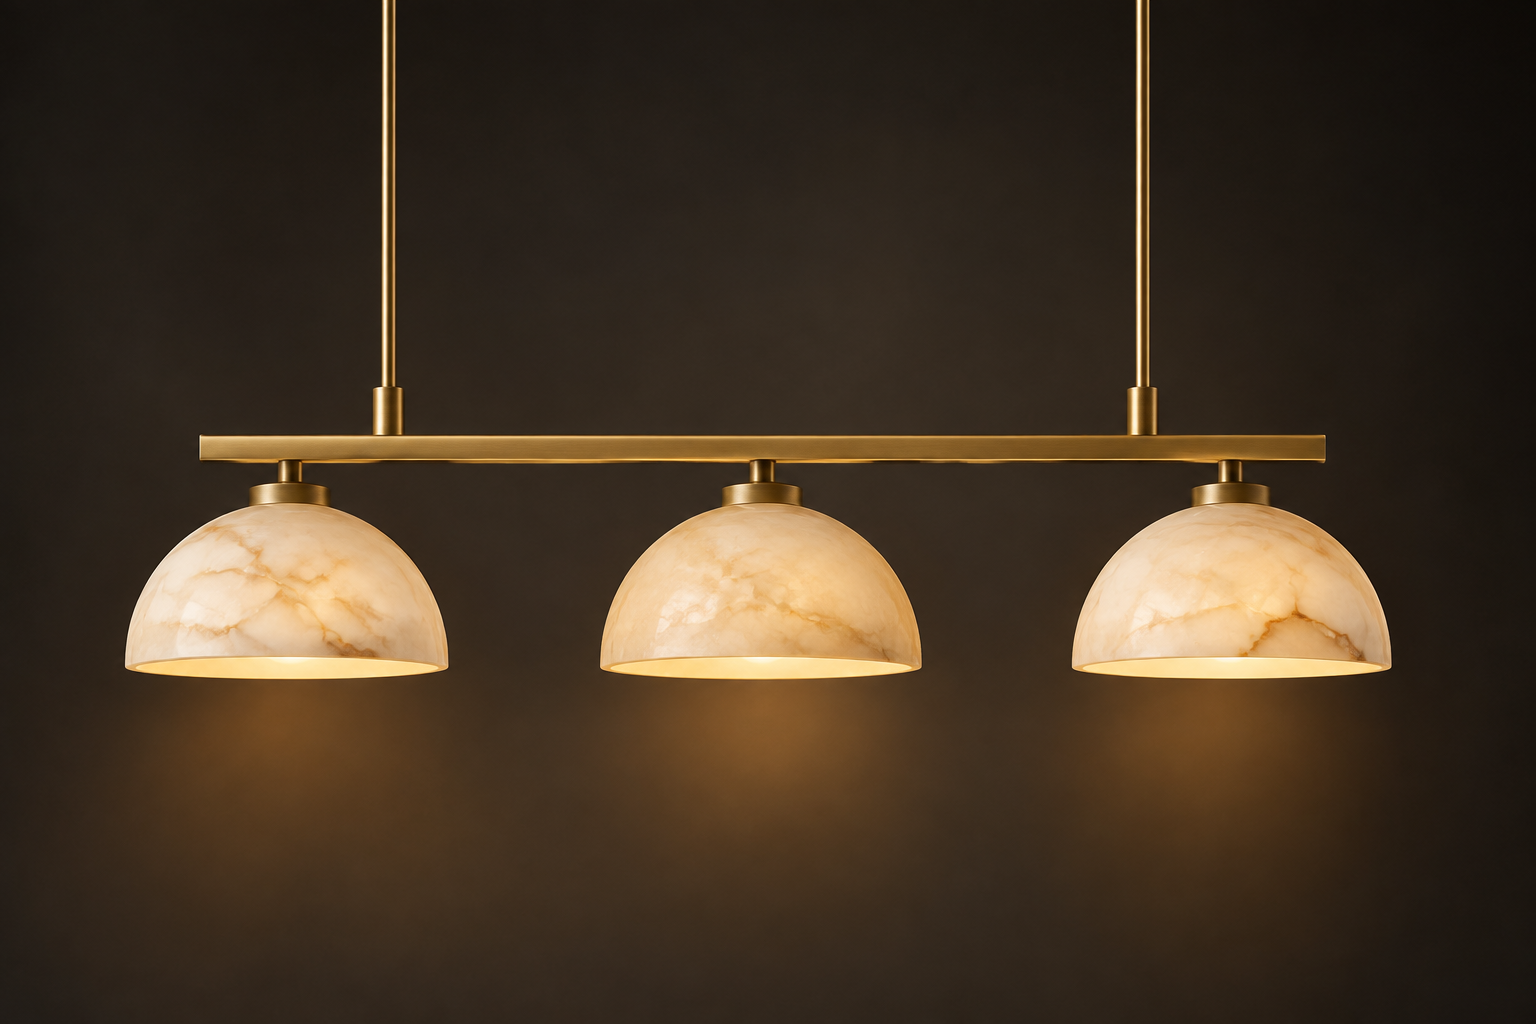
Island lighting fails in a predictable way: a fixture gets chosen from a photograph, hung at a guessed height, and then the counter turns out dim, the row sits in everyone's sightline, and the whole kitchen runs on one flat brightness. Planning the setup in the right order avoids all three. Work through four decisions — how many fixtures and how big, how high they hang, how much light and what quality of light, and how it all controls — and the fixture choice at the end becomes almost obvious. The numbers below are working conventions rather than code values; ranges marked illustrative.
Start with the island, not the fixture catalog
Three facts about the island drive everything else. Its length and width set how many fixtures the counter can carry and at what spacing — a 1.5 m island takes two pendants comfortably where a 2.4 m island wants three. Its job mix matters more: an island used mainly for prep wants tighter, brighter, downward pools of light, while an island that hosts homework, breakfast and guests wants a softer, wider spread. And its seating decides the light's character — stools at the counter put people's faces in the light, which argues for diffused sources and dimming rather than raw downlight punch.
Note the surroundings too: walkways on each side constrain how low anything can hang, and what sits beyond the island — a living area in an open plan, a dining table in a closed kitchen — decides how much the fixture row is seen from other rooms, which is most of the time. The height and spacing specifics, 76-91 cm above the counter and 60-90 cm between centers, are laid out in our pendant height over a kitchen island guide.
How much light the island needs
As a task surface, a kitchen counter wants roughly 300-500 lux on the work plane (illustrative) — two to three times the ambient level of the surrounding kitchen. Translated into fixture terms, three opal pendants in the 800-1100 lumen range each will serve a typical 2.1-2.4 m island with room to dim (illustrative). The common failure is not too little total light but the wrong shape of it: one central fixture leaves the ends of the island in shadow and puts the cook between the light and the chopping board, which is exactly backwards. Multiple spaced sources, or one continuous linear piece, keep the counter evenly lit and the shadows off the work.
Quality matters as much as quantity. CRI 90 or better is the threshold where food, herbs, timber counters and brass taps read true rather than gray; below that, everything looks subtly muted and no one can say why. For the numbers-to-units translation, our kelvin and lumen quick table carries the conversions.
Whole-setup spec sheet
| Parameter | Working range | Why it matters |
|---|---|---|
| Hanging height | 76-91 cm above counter; 203 cm floor clearance at walkways | Clears sightlines and worktop, lights the task |
| Spacing | 60-90 cm center to center; ~30 cm from island ends | Even coverage, no dark seams between fixtures |
| Output per fixture | 800-1100 lm typical (illustrative) | Reaches 300-500 lux task level with headroom to dim |
| Color temperature | 2700-3000 K | Warm enough for evening, clean enough for food |
| CRI | 90 or higher | Food and finishes read true |
| Dimming | Smooth down to 5-10% | Prep brightness to evening atmosphere on one circuit |
| Diffuser | Opal or frosted for open-plan sightlines | Hides the lamp from seated views across the room |
| Switching | Island on its own scene or circuit | Independent of perimeter and cabinet layers |
Illustrative residential conventions; commercial food-prep islands follow task-specific lux standards instead.
The layers around the island
The island should never carry the whole kitchen. Four layers do different jobs, and the island is only one of them: ambient light from recessed or ceiling fixtures for general movement, undercabinet strips lighting the perimeter counters where wall cabinets would otherwise throw shadow, island pendants as the task-and-identity layer in the middle of the room, and an optional low level — toe-kick or shelf lighting — for overnight and atmosphere. When the island layer is asked to do ambient work too, it ends up too bright for the evening and too glary for anyone sitting at it. Ambient spacing is a layout exercise of its own; the method sits in our downlight spacing calculator.
Color temperature, CRI and dimming that actually works
The warm-light choice is between 2700 K and 3000 K — 2700 K for cozier, evening-leaning kitchens, 3000 K where the island is a serious prep surface and white counters want a cleaner read. The full trade-off is compared in our 2700 K vs 3000 K guide. Two quality traps catch LED islands specifically: flicker from cheap drivers, visible on phone cameras and fatiguing at the counter, which our flicker and stroboscopic effect guide explains how to screen for; and dimming that turns orange or drops out below 20%, avoided by specifying the driver and the dimmer as a matched pair rather than hoping compatibility holds. In open plans, dim-to-warm or tunable-white drivers let the island shift from bright cooking light to a low, candle-adjacent evening glow on the same fixture.
Shapes: multiples or a linear piece
With the numbers settled, the shape question has two answers. A row of individual pendants — globes, domes, drums — gives rhythm, per-fixture dimming granularity and the widest style choice. A linear piece gives one clean horizontal, even coverage with no seams, and a calmer ceiling in open plans; it runs best at half to two-thirds of the island length. Both belong to the same family as the pieces in our chandeliers and pendants range, and the wider pendant lights collection covers the individual-shade route in every finish from opal glass to woven rattan.
Planning done in this order — island facts, quantity, quality, layers, controls, then shape — produces a setup that photographs the way the inspiration images promised. Send the island dimensions, ceiling height and how the island is used, and we will return a complete island scheme with fixture options and FOB pricing within 24 hours.