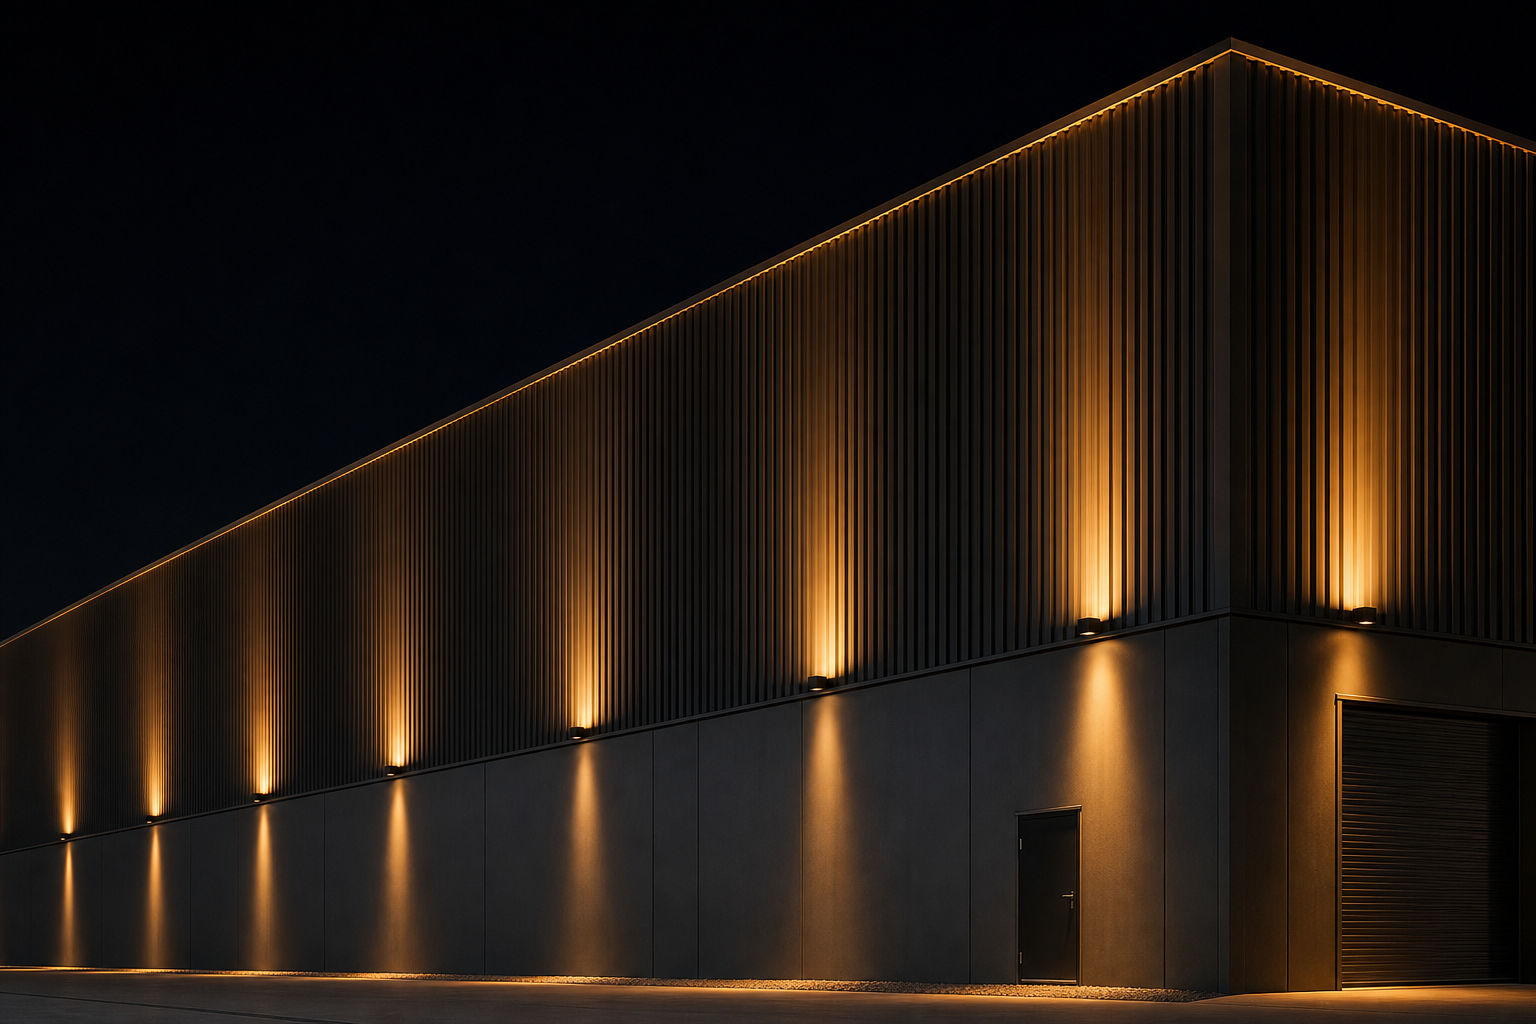
Three techniques carry almost every building elevation — how each works, which surface it suits, the fixture and beam it needs, and the delivery checks that keep a facade project on schedule.
2026-09-10 · 9 min read · Lighting guide
A facade scheme does three jobs at once, and confusing them is the root of most disappointing elevations. It gives the building a night identity — the image that appears in photographs, on maps and in the tenant's marketing. It provides orientation and safety at entrances, along edges and across podium landscapes. And increasingly it carries an environmental obligation: energy codes and dark-sky policies now limit upward light, color temperature and after-midnight operation in many jurisdictions. A serious brief names all three jobs before anyone discusses fixtures, because each pulls the design in a different direction.
The craft of facade lighting is mostly about light meeting surface. Smooth render, ribbed stone, glass curtain wall and clay brick each respond to an identical beam in completely different ways — reflectance, texture and geometry decide whether 50 lux reads as a gentle sheen or a glaring slab. That is why professional facade work is specified per surface, per technique, then verified in a mockup at dusk. The three dominant techniques below cover perhaps ninety percent of real projects; everything else is combinations of them.
Grazing places fixtures very close to the wall — offsets of 15-40 centimeters are typical — so the beam skims across the surface and exaggerates every ripple of texture. It belongs on relief materials: stone, brick, board-formed concrete, ribbed cladding. On a flat render it does nothing but show luminaire reflections, which is the tell that the technique was chosen in the catalog rather than on the material.
Washing places fixtures farther out — commonly 0.6 to 1.2 meters from the wall for every meter of height, a rule-of-thumb ratio — so multiple beams overlap into a smooth, even veil of light. It suits flat, low-texture surfaces and long elevations where uniformity is the goal. Wall washer optics, asymmetric floods and linear washers all deliver it; the design skill is in the overlap so no scalloping appears between fittings.
Silhouetting lights the background behind an object rather than the object itself: a tree, a sculpture, a column line or a projecting bay reads as a black shape against a lit wall. It is the most theatrical of the three and the most forgiving of fixture placement, because the fittings hide behind the planting or the object. Silhouette plus a low-level wash is a classic pairing for entrance courtyards.
| Technique | Typical mounting | Beam | Typical surface illuminance | Best surfaces |
|---|---|---|---|---|
| Grazing | 0.15-0.4 m from wall, at base or in soffit | 10°-24° narrow | 80-150 lux on feature bands | Stone, brick, ribbed or textured cladding |
| Washing | 0.6-1.2 m offset per meter of height | 24°-60° or asymmetric | 30-80 lux for secondary planes | Smooth render, curtain wall spandrels, long elevations |
| Silhouetting | Behind object, aimed at wall beyond | 24°-36° | 20-50 lux background | Entrances, planting against walls, sculptural elements |
Illuminance figures are illustrative starting points; dark surfaces need proportionally more light than the nominal target, roughly doubling for low-reflectance stone or dark brick.
The fixture families behind these techniques are short. Linear wall washers and grazing bars (IP65-IP66) run along the base or hide in soffit reveals. In-ground uplights (IP67, drive-over rated) graze columns and mark entrance axes, at the cost of maintenance access. Compact floods on brackets do the distance work on tall elevations, and line lights trace reveals, cornices and handrails as literal drawing lines. Our wall washer guide covers the optic families in detail.
Tall elevations add a vertical dimension to the zoning logic. Ground-level presence — entrances, podium retail, the first two floors — carries detail and color, while the shaft above reads in simple gradients and the crown carries the landmark. Pushing detail upward fails twice: flood levels strong enough to read at height create glare at street level, and the facade ends up brightest where nobody stands close enough to look. Layer by height instead, and let the crown do the long-distance work at a fraction of the total lumen budget — an illustrative allocation, but the pattern recurs across virtually every successful tower scheme.
Static white does most commercial facades: 2700-3000 K flatters masonry and timber, 3000-4000 K suits glass and steel, and staying on one temperature across an elevation is a design decision worth enforcing. Where a tenant wants programming, RGBW luminaires on DALI or DMX deliver scenes and seasonal animation, with the white channel doing the daily work and color reserved for occasions — the pattern that ages best in practice.
Controls also carry the compliance load. An astronomical time switch or light-sensor sequence turns the scheme on at dusk and off or down at a defined curfew; a dimmed "presence" scene at 30-50 percent typically holds the building's identity after hours at a fraction of the energy — illustrative figure, but the pattern is standard in European tenders shaped by dark-sky policy. Uplight shielding, sharp cutoff optics and documented upward light ratios are now requested explicitly in municipal projects; our light pollution guide explains what the terms test. On mixed developments, the facade control system should sit on the same backbone as landscape and interior scenes from day one — retrofitting protocol bridges across three suppliers is where those budgets quietly die.
Facade projects live or die on verification, so the supplier checklist is heavier than for interior work. Require: IES/LDT photometric files per optic, an aiming diagram produced in DIALux or equivalent against the elevation drawing, IP/IK test reports per housing, salt-spray certification for coastal sites, and surge protection of at least 6-10 kV for anything fed from long exterior circuits. Driver brand stated by name, and driver accessibility documented — a fitting whose driver requires unbolting the wall is a warranty claim waiting for its date. Certification follows the destination market, issued via certified partner factories and verified by certificate number; our certification guide maps the matrix.
Practically, the sequence that works is sample first, then mockup, then release: sample units to the site in 7-14 days (illustrative), a dusk mockup on one bay of the actual facade, adjustments written into the aiming schedule, then bulk production of 25-40 days after deposit — again illustrative, confirmed per order. Facade luminaires consolidate naturally with the landscape and exterior families in the same container; the wider program sits with our landscape and facade solutions team, and mixed exterior orders pair cleanly with our outdoor and solar lines where grid power is uneconomic. Close the spares list at order stage — drivers, lenses and gaskets for 3-5 percent of the count, held by the operator, because facade access is billed by the day.
Process holds the rest together, because facade drawings change hands three times between concept and installation. The sequence that works: a night concept agreed with the architect at design stage; fixture schedules locked before the facade package is tendered, so conduits, brackets and power have somewhere to live; a mockup on one bay before bulk release; and an aiming visit at dusk with the designer present, producing a signed aiming schedule. Projects that skip the mockup and the aiming visit pay for a second scaffold visit instead — invariably more than both steps combined.
Paths, trees and water features — the ground-level half of a complete exterior scheme.
The optic families behind smooth facade washes, and where each distribution belongs.
Parks, plazas and campus walkways — pole schedules, P-classes and dark-sky practice.
How buyers actually work the Zhongshan lighting cluster — markets, factories and QC.
Technique selection, aiming diagrams and a per-project quotation — first response within 24 hours.